Documentation
Integrating with Zoom Meetings
Setting up Zoom Meetings is easy! By following these steps, you’ll be able to integrate your Zoom accounts with your RACPRO platform and use it to host meeting
Initial Setup
- Navigate to the Meetings section in your RACPRO dashboard
- Select Meetings from the sidebar menu
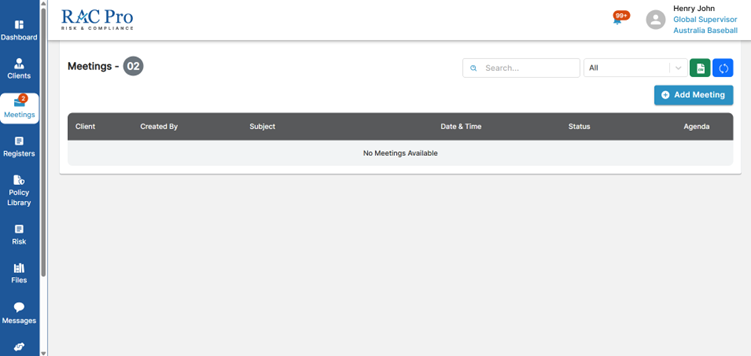
Next, click on “Add Meeting” button
In the pop-up, you will begin creating the first meeting
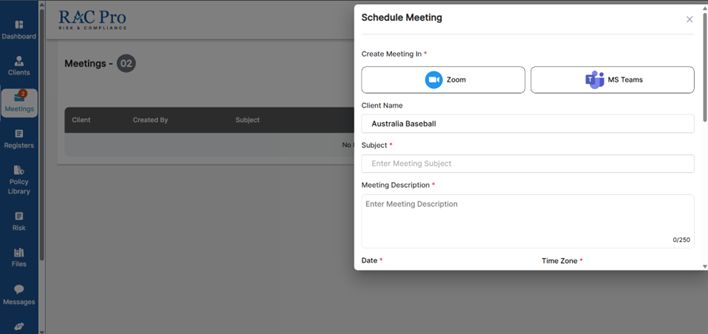
In the meeting creation modal:
- Select “Create Meeting in Zoom” from the platform options
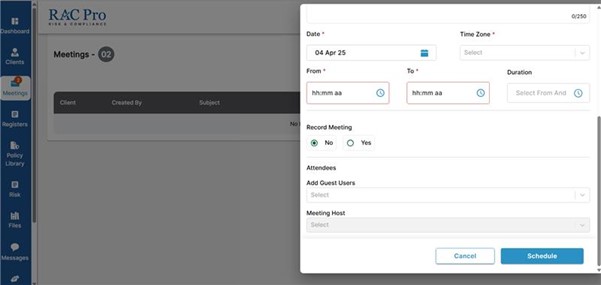
Date, From/To Duration
These fields specify the start and end times of the time slot. Users can click the fields to open a calendar widget for convenient date and time selection.
Time Zone
This indicates the time zone in which the scheduled time applies. The system will automatically convert the session time based on each user’s local time zone.
Record Meeting
Users can choose whether to record the meeting by selecting the appropriate option during setup.
Configure additional options:
- Record Meeting: Toggle between “Yes”/”No” Attendees:
- Add guest users via “Add Guest Users”
- Assign Meeting Host from dropdown
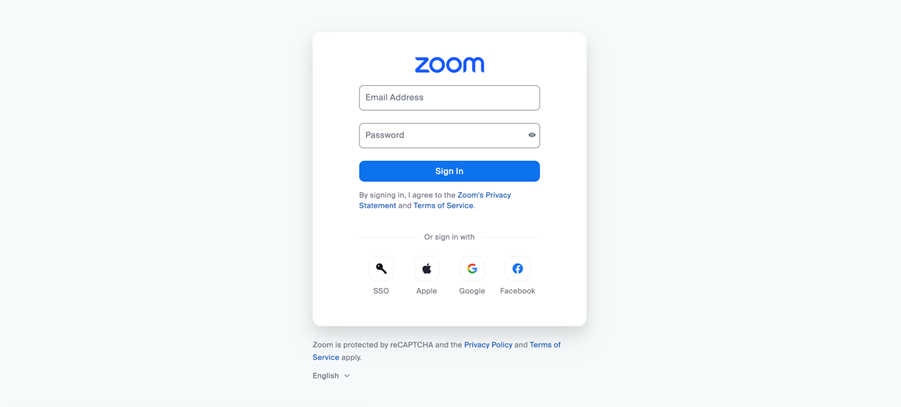
Next confirmation modal to click the add Zoom Next, sign into Zoom by entering your login credentials, then click on Sign In. Admins can add their own Zoom accounts and Zoom Meeting are supported.
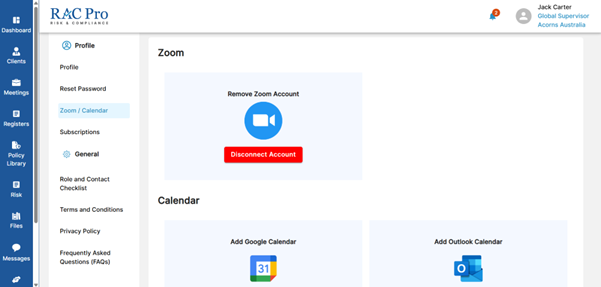
Deauthorization Flow
- Navigate to the Settings page > “Zoom / Calendar” submenu.
- Click “Disconnect Account” to unlink Zoom.
- After confirmation:
- We delete the access and refresh tokens from the database.
- Users are redirected to the Zoom App Marketplace page to uninstall the RACPRO App from their Zoom account.